Wednesday, April 28, 2010

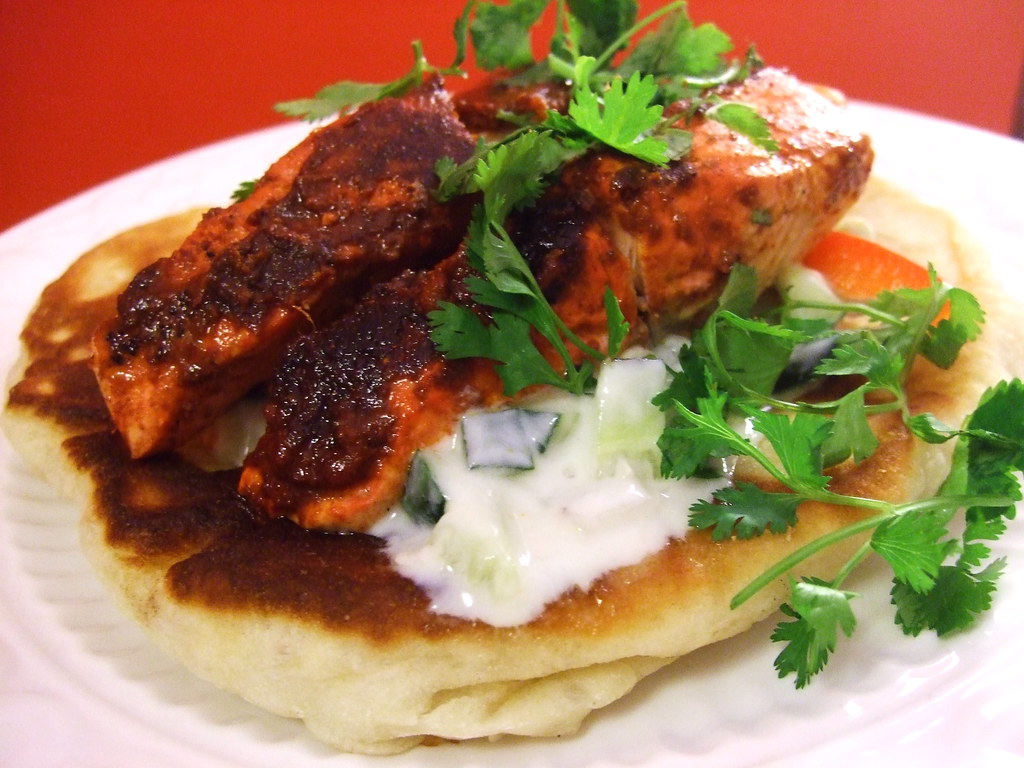
Salmon Tikka with Cucumber Yoghurt

If you are looking for a way to become friends with fish, this might be a good recipe for you. If you are already a fish enthusiast, then you're in luck too. The Indian spices, though not terribly hot, are so delicious - I'm sure there is a way to do this completely from scratch but I followed directions and bought a jar of Patak's Tandoori paste - if I hadn't made my own naan bread, this would have been a very quick, less than 30 minute meal. This recipe serves two.


You need:
- 1.5 c plain yoghurt
- 1/4 c minced red onion
- 1/2 c chopped cucumber
- 1/2 tsp cumin
- 2 salmon fillets
- 3 TBS Patak's Tandoori paste
- 1 TBS oil
- 2 pieces of naan bread
- 1/4 c chopped fresh cilantro

First, prepare your yoghurt. This is a really nice, cool side that complements the spices on the fish really well. If you add some hot peppers to it, you will also get some bit. We are wimps though and don't abide by such things. Anyways, seed a half a cucumber, or a third if you have one of those giant long ones, and dice it finely. I left the skin on because I like it that way. Finely mince a about a quarter cup of red onion. Stir these, along with about a 1/2 tsp of ground cumin, into 1.5 cups of plain yoghurt. I used fat-free organic, but thick Greek style would be great too. Set this aside in the fridge.

If you are making your own naan, you want to start that well in advance, as the bread will have to rise etc. But if not, and you have purchased naan from your local Indian restaurant or from your grocery store, then you can move right on to the salmon portion of this dinner.

You need a couple of fillets of salmon - make sure the fish you are buying is sustainably fished in your part of the world. If you can't find salmon, red-fleshed trout works well too. Cut the fish into thirds lengthwise and leave the skin on. Brush the top and sides of each piece with the Tandoori paste - I used about 3 tablespoons total - maybe a little less. Don't put the brush back into the jar because you will get fishy things in your jar of paste and that is unsanitary.

At this point, bake your naan bread if you made your own, or start heating it up if you bought some. Heat up about a tablespoon of oil in a cast-iron pan, or other pan if you don't have a cast-iron one. But cast-iron is really the best. It should be on about medium or medium high depending on how hot your stove gets. Place the salmon pieces in the pan and cook for about 3 minutes on each side, until the salmon turns opaque.

Give each person a warm naan bread, dollop some of the yoghurt on it, top with the salmon, and with some chopped cilantro if you are into cilantro. If not, that is sad but not your fault. You can fold up the sides and munch on it like a taco, or use a sophisticated knife and fork. Either way, enjoy!

. Digg Technorati Delicious StumbleUpon Reddit BlinkList Furl Mixx Facebook Google Bookmark Yahoo

Saturday, April 10, 2010

Lazy Saturday

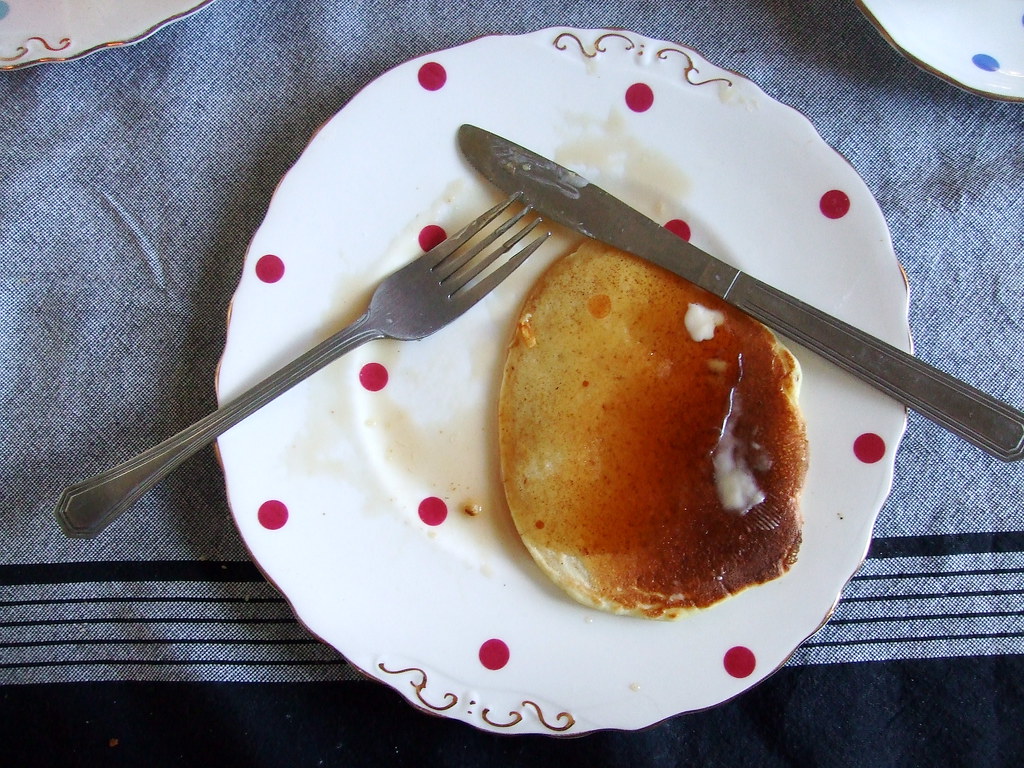
If making that pasta was one of the more involved projects I've undertaken for this wee blog of mine, I think this post marks one of the simplest -- short of the soft-boiled eggs post, of course. Anyways pancakes.


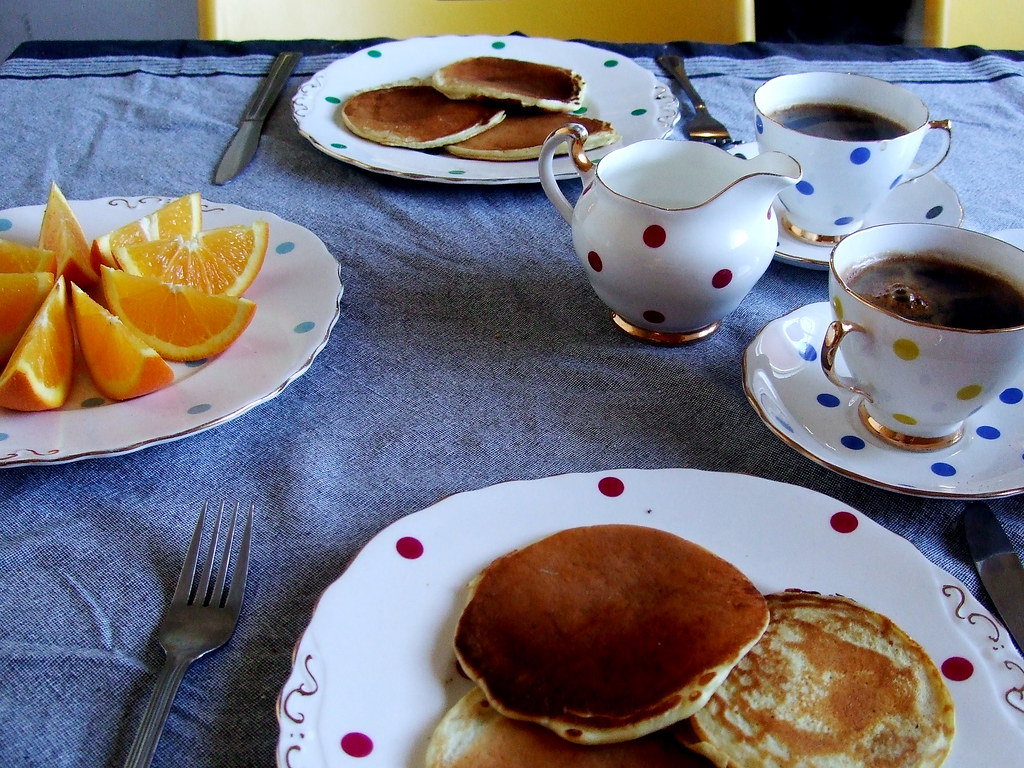
I also wanted an excuse to show off my adorable plate and tea cup collection. My mom's friend Oona has these cups and I always loved them, so every Christmas and/or birthday, my mom scours eBay and antique stores for a piece for the collection and gives whatever she finds to me. I have four lunch (or pancake!) plates, about 8 tea cups and saucers, and few tiny tea plates for fancy sandwiches or cakes.

On a sunny Saturday they called out to be filled with sliced oranges, hot coffee, and steaming pancakes fresh from the pan.


Do you want to know my pancake recipe? I love this recipe because it is the perfect amount for two people. Four little pancakes each.


You need:
1/2 c flour
2 tsp wheat germ or flax (optional but healthy!)
1/4 tsp baking powder
1/4 tsp baking soda
1/4 tsp salt
1 egg
1/2 c milk or butter milk
1.5 tsp plain yogurt or oil or apple sauce


You just put all the ingredients into a shaker bottle (mine was $1 from the dollar store!) and shake them up. Then just pour out a bit into a heated and lightly buttered cast-iron pan (my fav!) and you're good to go! You can obviously add whatever you like to your pancakes - blueberries, raspberries, chopped apple - but we like ours plain.

Digg Technorati Delicious StumbleUpon Reddit BlinkList Furl Mixx Facebook Google Bookmark Yahoo

Wednesday, March 24, 2010

Happy Birthday, Cast-Iron Darling!

That's right, my little blog is already one year old!

To celebrate, I wanted to do something special so I had my friend Jen over and we cooked up a feast! Plus, I tried my hand at something I had never attempted. It had been on my list for a while: make my own pasta. Without a pasta maker. Not because I'm a masochist; just because I don't own one. Although after reading this, it may seem like the former is also true.


I believe I followed Jamie Oliver's directions because he always seems to make things sound straightforward and tells me I don't have to worry. I halved the recipe because we were only two and the pasta was a side, not the main. We served it with a lovely braised pork butt and the carrot-celery ragout in which it cooked, and a delicious beet roesti, thanks to Mark Bittman - those recipes soon.
 

So!
300g flour
3 eggs

and away we go with this deceptively simple recipe! I wasn't so keen on getting my counter all eggy so I put the flour in my Kitchenaid, since Jamie says you can use a food processor and so I decided a Kitchenaid was close enough. Maybe this was my first mistake.

Actually, my first mistake was not using "Tipo 00" flour. I searched; I could not find any and I didn't feel like going all the way up to Little Italy. So I used all-purpose. Things.... did not go ideally. The dough really didn't want to stick together. It was not as straightforward as Jamie had promised! It seemed like the dough was too dry!

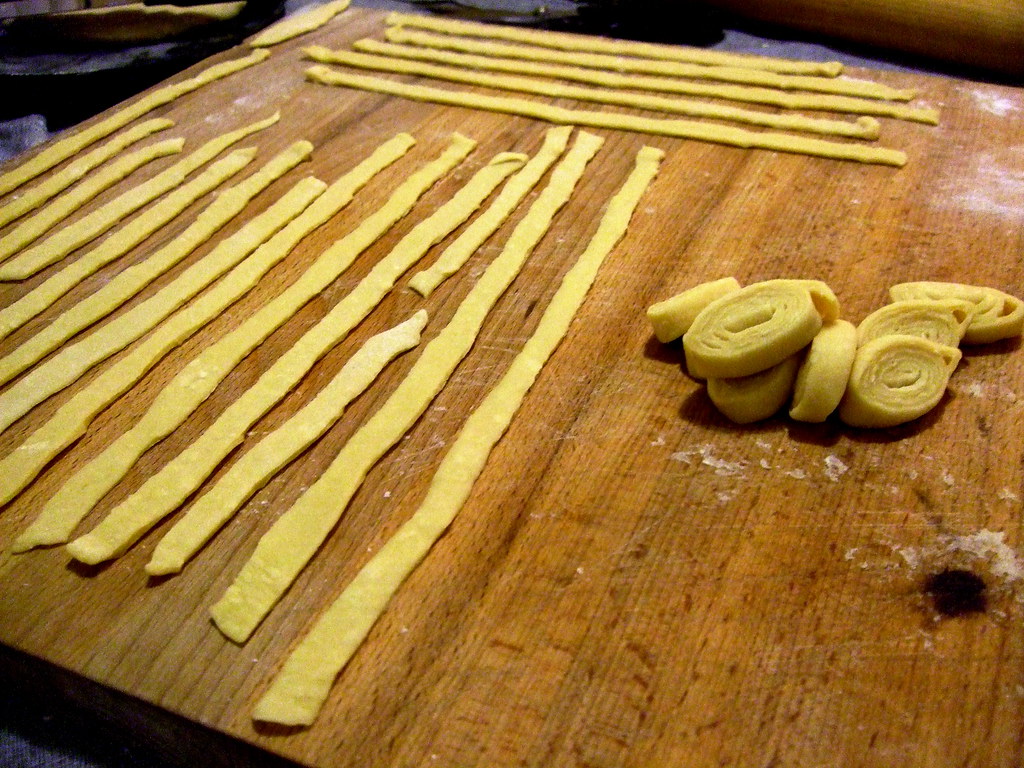
Finally I got it to stick together enough to attempt rolling. I hope you've been working out, because this is serious business. My arms were still sore three days later! Maybe I should do this more often... I digress. Jamie says you should roll it out until it's as thin as a CD. I was really tired so mine was more like a CD and a half. Maybe two CDs. It wasn't thin enough, anyways. But I was proud and happy and rolled up the thin dough and sliced it into thin strips and unrolled it onto the counter. Pasta! It looked like Real Pasta! I was happy.


When we cooked it up, it tasted SO GOOD. DELICIOUSLY GOOD. SO GOOD THAT TWO DAYS LATER I WANTED MORE. I still didn't have a pasta maker. I still don't, come to think of it.

This time, I went and bought some Semolina flour from the bulk store, thinking this would be nice -- isn't Semolina what Real Italians use to make pasta? This may be true, but I am not a Real Italian. I am not even a Fake Italian.

Half-way through making it, I began to think that I should not have approached the Semolina, and I really should not have tried to make pasta A SECOND TIME with only my non-buff arms to roll out the dough. Clearly home-made pasta is good, because nothing else would be able to drive me to these lengths to get it.

This time:

1 c. Semolina
1 c. all-purpose flour
pinch of salt
1 Tbs olive oil
3 eggs (I ended up using 4)

Making this pasta made me want to cry. It would not stay in a well-behaved ball. It crumbled if you even looked at it. It looked like a mound of cheese curds when at rest.

 Proof: Cheese curds, or pasta dough? Impossible to tell.

I left it alone for 30 minutes and let it think about its bad behaviour. When I returned, it had repented. I squooged it into a ball and it stayed. It even allowed itself to be rolled out, with reluctance. My sister called. She was coming for dinner. She wanted to bring a friend. I eyed the take-out numbers on the fridge, made the sign of the cross, and agreed.


It looks impossible at this point that the dough will allow itself to be rolled as thin as a CD.


I don't think my wrists will ever be the same again. However difficult rolling out pasta made from regular flour was, Semolina is beyond the pale. I swore. I made promises I couldn't keep. I vowed vengeance on the pasta.


My poor, red, puffy hands.


It still took 40 minutes to roll out and cut all the pasta, and even then it was not to Jamie's requisite CD-thinness.


Two CDs are better than one, right?

I felt so proud though. The pain made me blind to beauty, as a new mother, fresh from labour, is to her mediocre newborn. My pasta was so beautiful. Perfect. Golden. Nothing could surpass it.


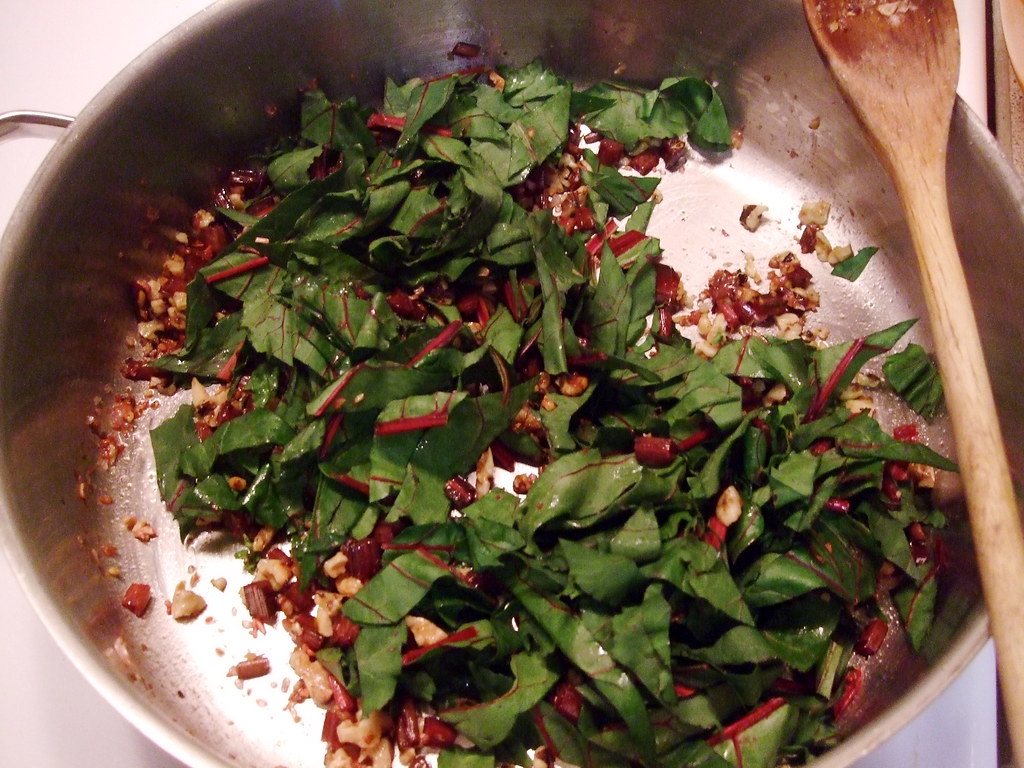
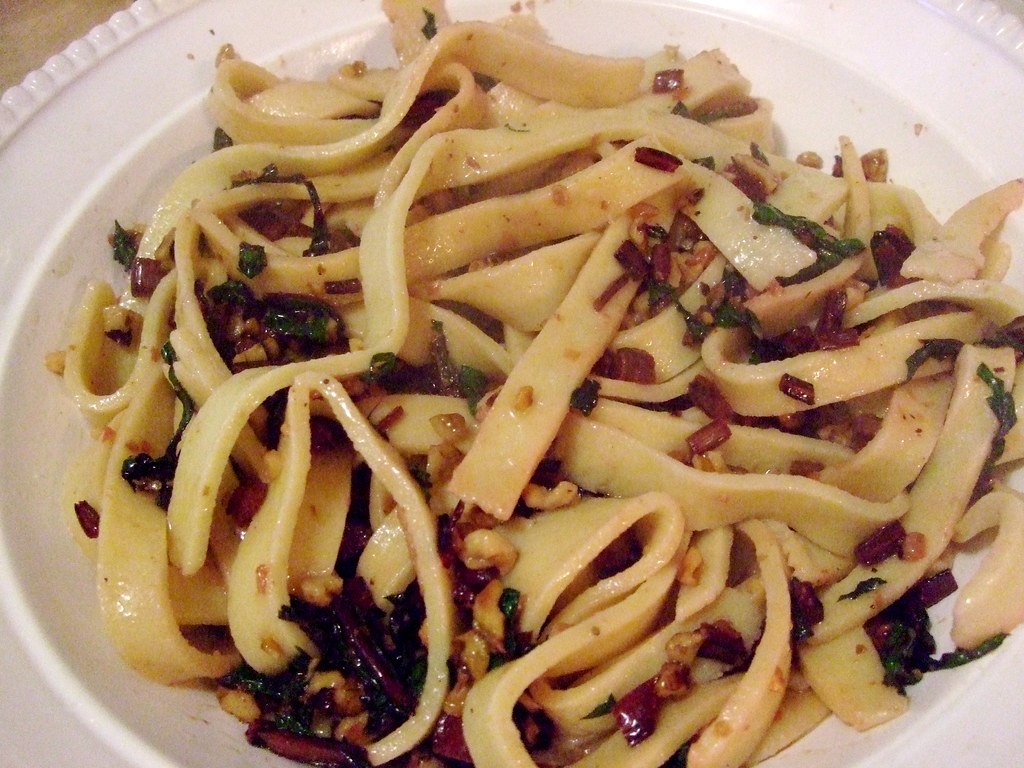
To accompany my beautiful pasta, I made a light sauce of toasted walnuts, minced garlic, and chopped beet greens. 
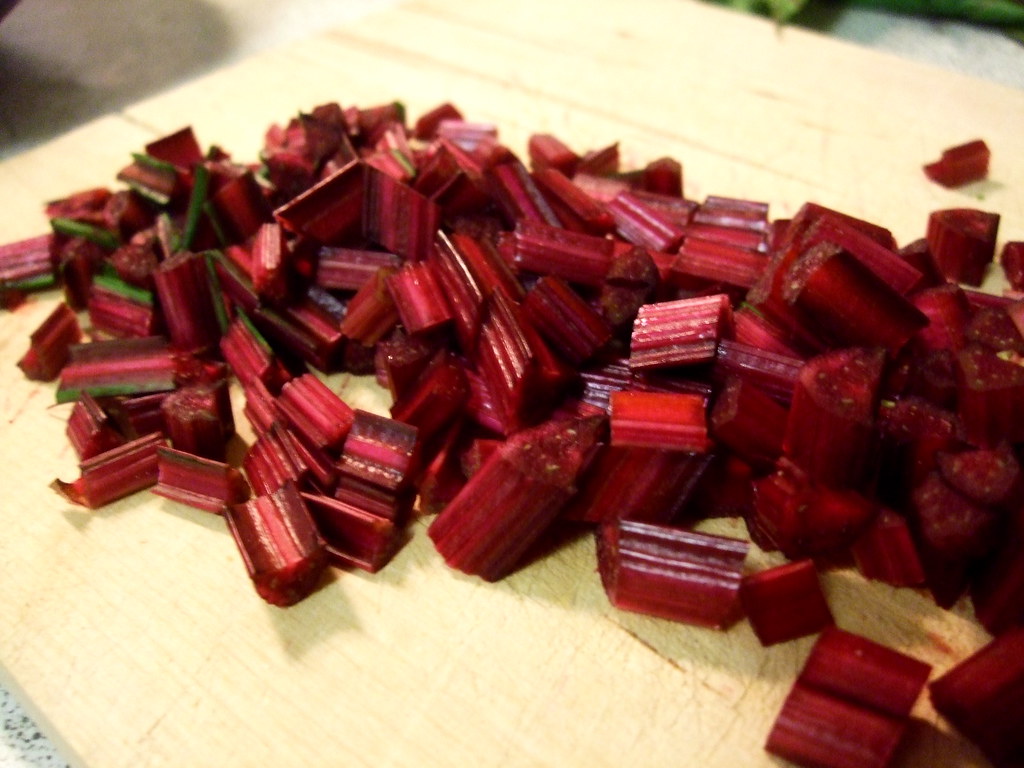


About 3/4 c chopped walnuts, toasted in a dry pan over medium heat until fragrant. Move those to another dish, and heat 2-3 tbs olive oil and saute the garlic with a pinch or so of coarse salt. Add the beet stems, about a cup or more, and saute as well. At the end, throw in the chopped leaves, about 2 cups, and saute until wilted. Toss with the pasta and more olive oil and some pepper to taste.


It was very well received. The pasta was al dente in a way I had never tasted before. I guess that's the difference of having it fresh. The all-purpose flour pasta I had made the first time tasted more like the spaetzle I sometimes make; the Semolina tasted like Real Italian Pasta.


You know what, this pain-in-my-butt Semolina pasta was worth the agony. It was worth the trouble and the sore wrists and the red palms and the cursing. I would make it again in a second.

. Digg Technorati Delicious StumbleUpon Reddit BlinkList Furl Mixx Facebook Google Bookmark Yahoo

Thursday, March 11, 2010

Look up...

Look waaaaaay up!* I've got a new banner! It has a little cast-iron skillet! And my name! And it's pink!

I thought it was time for a more personal look for my little corner of the internet, so my friend Megan Wolf, a graphic designer, kindly offered to design one for me!

So let's all say it together now, THANK YOU MEGAN! :D


*10 points to anyone who knows the reference.


. Digg Technorati Delicious StumbleUpon Reddit BlinkList Furl Mixx Facebook Google Bookmark Yahoo

Tuesday, March 9, 2010

Peanut Butter-Chocolate Lava Pots

Since that last post wasn't really a recipe so much as pretty pictures and links to techniques, here is a bonus recipe for you. It actually goes really well with the steak just posted. Actually it goes well with anything, because it is chocolate and peanut butter and it's melty and warm.


This recipe is adapted from Citrus and Candy, a site with lovely pictures and delicious recipes. The recipe there makes 10 and we are only two, so I halved it and fiddled a bit with the amounts. Note that any "leftovers" keep uncooked in the fridge at least for a couple of days and are just as nice as the ones cooked right away.

You need:
A kitchen scale (seriously - they are $12 and make you look like you mean serious buisiness)
150g chopped dark/milk chocolate. I used a combo.
80g peanut butter. I had smooth natural on hand. Don't know how it would work with the sweet kind.
10g chopped butter
3 eggs separated, yolks beaten.
100g icing sugar
50g flour

In a double boiler (so a metal bowl set atop simmering water in a pan on low) melt the chocolate with the butter and peanut butter. You could probably do this in the microwave too, but I always burn chocolate that way because it's so tricksy.

Cool the mixture and then stir in your beaten eggs. It needs to be cooled a bit because otherwise you will scramble your eggs and that is not very appetizing. If you are imptatient, you could turn your egg whites into soft peaks while you're waiting for it to cool, because you are going to have to do that anyways in the next step.

Beat your egg whites into soft peaks, and then whisk in the sugar.

GRADUALLY fold the whites into the chocolate mixture along with the flour. Pour into 4 greased ramekins and rest in the fridge for one hour.


Preheat your oven to as close to 338ºF as you can - 170ºC if you can do that. The recipe is in metric - sorry. Pop those ramekins into the oven for about 15 minutes. I had to watch mine and guess. They should look cooked on the outside but you still want them lava-like on the inside. When they start to cool, the middle should sink a bit. That's how you know they're ready to eat.

. Digg Technorati Delicious StumbleUpon Reddit BlinkList Furl Mixx Facebook Google Bookmark Yahoo

Gold Medal Meal

Technically this was our Valentine's Day dinner - we stayed at home and I cooked and M ran out to the tiny and excellent burger place on the corner to buy the best frites in the city and then we watched Alexandre Bilodeau win Canada's first gold medal on home soil at the Olympics.


Steak with shallot butter, green beans, and frites from Patati Patata

This was my first successful foray into cooking steak INSIDE. Mid-February is still winter here. (OR IT SHOULD BE!) At any rate, you can't get to a barbecue unless you are very determined and/or your barbecue is a lot closer to your back door than ours is. Also I think ours is broken. But as I discovered, inside steak is actually quite delicious - that's how they do them in restaurants, after all.

The trick is to try to replicate the serious heat a restaurant stove can kick out - a domestic stove just does not have the same kind of heat-producing capabilities. The other problem is that steak is expensive even at the grocery store. Thanks to the combination of two pieces of sage advice from two well-known stores of wisdom, YOU TOO CAN COOK DELICIOUS STEAK AT HOME. Just have one person on hand to wave a towel at the smoke detector - it gets a little smokey.

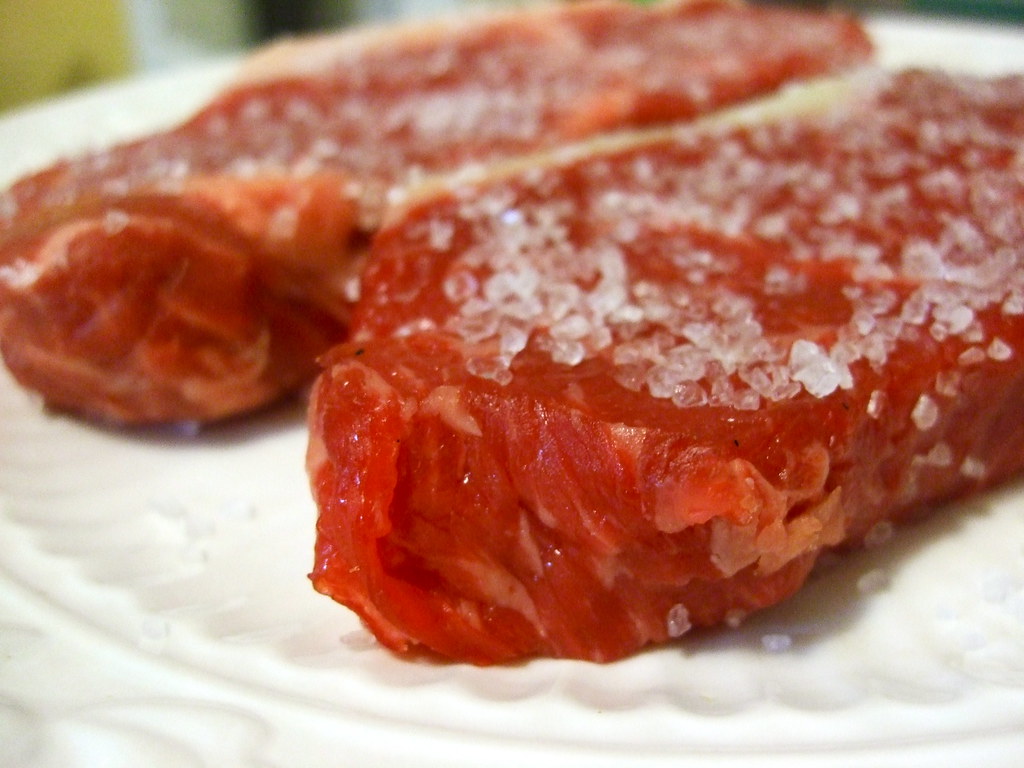
Tip number one, from The Steamy Kitchen: Salt your steak and let it sit in salt (a lot of salt - like a thick layer) for a while before you cook it. This draws moisture out of the steak so when you are cooking it, especially in a pan, it doesn't steam and get tough and nasty. This enables you to buy cheaper steaks and still have them be tender and lovely. Just rinse and dry the steak off thoroughly after it's been salted for a good amount of time.


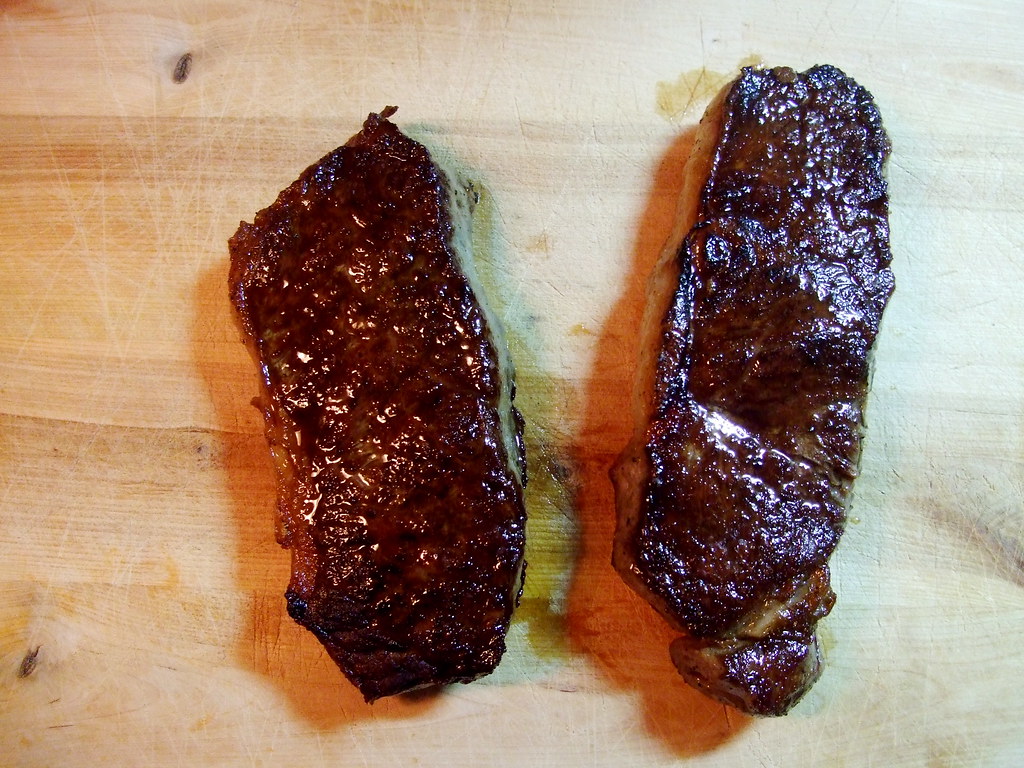
Tip number two, from The Kitchn: Use a cast-iron pan and heat it up under the broiler until it is SCALDING scalding hot. Your broiler gets way hotter than your stove-top so use that to your advantage. Heat up the pan, then stick it on the stove on high and cook the steak in the scalding pan for thirty seconds a side. Then stick it back in the oven for two minutes.


There you go. Medium rare steak with a beautiful meaty crust on the outside and a juicy, tender centre.

I made shallot butter to serve on top, just like at a fancy restaurant! Mince a shallot finely and whip it into softened butter (not melted). Wrap the butter in saran wrap and shape into a log with your hands. Then chill until you're ready to use.

. Digg Technorati Delicious StumbleUpon Reddit BlinkList Furl Mixx Facebook Google Bookmark Yahoo

Monday, February 15, 2010

Is it summer yet?

Can I grill things outside? Can I have a burger? Please?

1. Not yet.
2. Not really.
3 & 4. Yes! Yes you may have a burger!


These are some scrumptious burgers from a truly scrumptious magazine. Did you know that the LCBO has a magazine? Did you know that you can get a subscription?* Both of these things are true. Along with some excellent drink recipes and ideas, the LCBO food magazine has some seriously tasty recipes. And gorgeous pictures to boot! This edition has a whole section on winter burgers, which was perfect because I really had a yearning for a good burger, but it is still far from grilling season.

These are anything but boring burgers. The Indian spices are a bit hit in this house, and this recipe was no exception. The chutney topping was also a nice touch. ENOUGH TALK! RECIPE!

You need (adapted from the LCBO Food&Drink Magazine):

1 large Granny Smith apple, peeled and grated.
1 small onion, minced
1 clove of garlic, minced
2 tbs curry powder
1 egg
1/2 c yogurt
1/2 tsp salt
1.5 c bread crumbs
1/3 c chopped coriander/cilantro leaves
1.5 lbs ground turkey (or chicken!)
butter and oil
some Major Grey chutney, or you can make your own
some yoghurt, to top
some sliced cucumber
some sliced red onion
naan, chapati, pita, or hamburger buns!

1. Sautee apple, onion, and garlic in 1 tbs of butter until the onions are soft and there isn't any liquid. Add the curry powder.

2. Mix egg, the 1/2 c of yoghurt, the breadcrumbs, cilantro, apple/onion mixture and the turkey with your hands! It won't kill you. It's just meat.

3. Form patties (not too thick! about 2 cm thick - I got 6 out of this batch). Heat your magical grill pan or cast iron pan with a bit of oil or butter over medium/medium low and grill/fry the patties until you get lovely grill marks (I love grill marks) and the centres are cooked through.


4. You are ready to assemble! Toast your bread product of choice and top your burger with cuke, red onion, yoghurt, and most importantly, chutney! YUM! Some spinach would also be delicious here, as the mag suggests.


*Dear LCBO: If you are reading this, and you like that I posted about your magazine and would like to say thank you, a large bottle of Forty Creek would make me really happy. Just sayin'!

. Digg Technorati Delicious StumbleUpon Reddit BlinkList Furl Mixx Facebook Google Bookmark Yahoo