Showing posts with label eggs. Show all posts

Wednesday, November 25, 2009

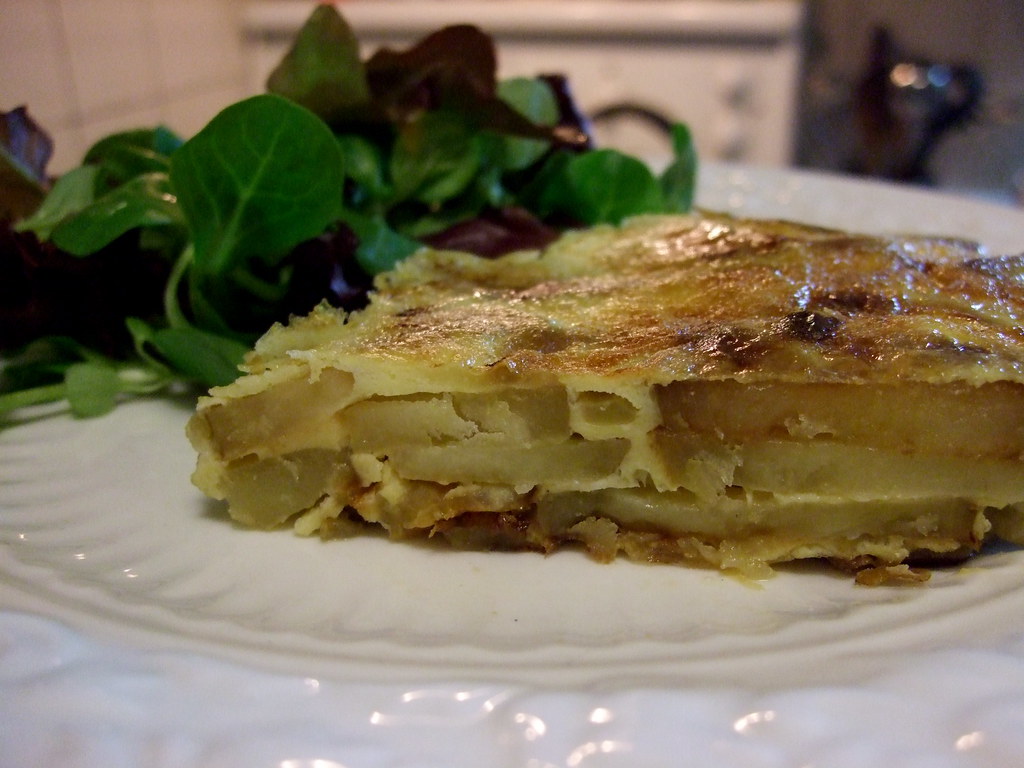
Spanish Tortilla


When I was in Spain this summer I ate a lot of tortillas. They were our go-to when we were sick of fish in Cabo de Palos (didn't happen to me, but to other members of my family), when we didn't feel like eating heavy meat in Madrid, or when we wanted something to nosh on between lunch and dinner while drinking a lovely Alhambra beer. And now that winter is rapidly approaching, I think about sunny Spain a lot. Like, a REAL WHOLE LOT.

While I was in Spain I bought a Spanish cookbook, but I hadn't made use of it (other than looking through it and reminiscing) until tonight. A tortilla is a perfect light dinner and it only uses pantry staples so you don't have to go out to buy anything fancy. And, if you're like me, you will get to think about lying on beautiful beaches like this one while eating it:


Here's what you need:

1 kg potatoes (about 7 small ones), thinly (THINLY) sliced (don't bother peeling them)
2 medium onions, thinly sliced
8 eggs (I made mine with 6 but 8 would have been yummier)
plenty of olive oil and salt and pepper.

1. Heat about 4-5 tbs of olive oil in a cast-iron frying pan over medium-high. When the oil is hot but not smoking (that's too hot), throw in your potatoes and brown them for 5 minutes.

2. After 5 minutes, add the onions and reduce the heat. You want to cook the potatoes through without burning them. It might take up to 30 minutes. The potatoes should be soft.

3. Meanwhile, beat your eggs with a whisk. When the potatoes are cooked, let them cook in a strainer for a while (you get rid of a bit of oil that way, too) and then mix them in with the egg. Add a fair bit of salt and pepper.

4. With the cast-iron pan still on low, pour in the egg and potato mixture. There should still be oil coating the pan from when you were cooking the potatoes. Let the tortilla cook SLOWLY. You need to cook it until egg is almost entirely cooked through without the bottom burning. DO NOT STIR THE EGGS but DO curve over the edges of the tortilla with a spatula so that the edges end up rounded.

5. When it is just about cooked through so that there are almost no runny bits on top - now this is a bit tricky - take a place and place it on top of the pan. You are going to flip that tortilla. So, holding the plate steady on the pan with one hand, flip the tortilla out of the pan and onto the plate. Then slide it carefully back into the hot pan but on the other side. Got it?

6. Let the tortilla brown on that side, then slice and serve! You can add variations - zucchini, ham, cheese - but the potato version is classic. It's pretty tasty as cold leftovers too - they serve it cold in Spain.


Digg Technorati Delicious StumbleUpon Reddit BlinkList Furl Mixx Facebook Google Bookmark Yahoo

Wednesday, September 9, 2009

Back!

Hello, dear readers!

I have returned from my travels and I have a recipe for you. I have a food-review to post shortly about all the delicious (and sometimes surprising) things I ate, but I'm still working on it.

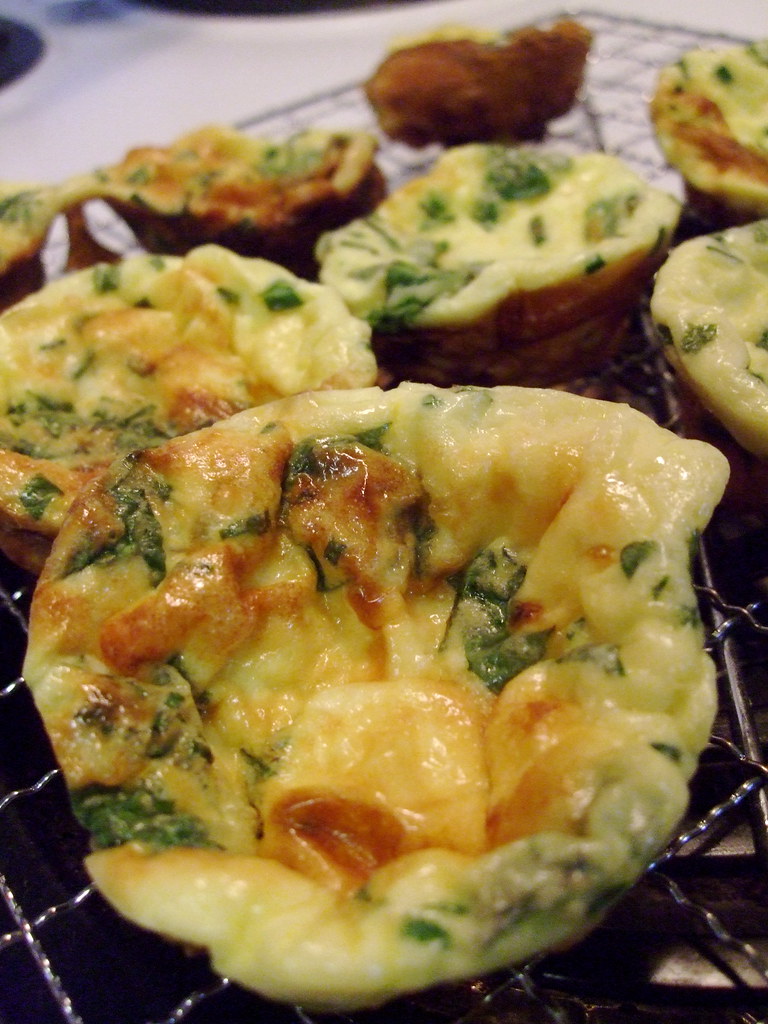
For now, inspired by the Spanish tortillas I ate while in Spain, I have concocted a lunch or breakfast recipe that makes packing a lunch or grabbing something to eat in the morning pretty easy. You could easily make amendments to this recipe to include other types of cheese, sliced ham, red peppers, etc, or the traditional potato found in Spanish tortillas, so if you have success with variations, let me know! :)

Mini Tortillas con Queso (and Spinach) (Makes 12)


You need:

6 eggs
3 tbs chopped chives (or green onions)
1.5 c chopped baby spinach (or arugula)
3 oz sharp cheese, like cheddar, parmesan, or gruyere, grated.
2/3 c dairy - i used 10% cream but you could use milk or yogurt or something else.
a 12-cup muffin tin
cooking spray

1. Preheat your oven to 400ºF and spray the muffin tin with cooking spray, or grease it with butter. You could put muffin liners in, but I don't know how well the egg would come off the paper.

2. With a whisk or a hand mixer, beat the eggs with the milk/cream until foamy.

3. Stir in the chives and spinach.

4. Using a 1/4c measuring cup, fill each muffin cup with the egg mixture.

5. Divide grated cheese among the cups and bake 15-20 minutes, until puffy and golden brown on top.


Mine deflated a lot after I took them out of the oven, but they're still really tasty!

These tortillas freeze really well, too. I just packed all of mine up in individual ziplocks and put them all in a big freezer bag. Just pop it in the toaster oven to warm it up the morning of, or at work/school if you have access a toaster oven. I imagine the microwave would work out OK too, but they might get a bit rubbery.

Digg Technorati Delicious StumbleUpon Reddit BlinkList Furl Mixx Facebook Google Bookmark Yahoo

Friday, June 19, 2009

The Perfect Soft-Boiled Egg


The glorious anticipation of two soft-boiled eggs before you, as yet uncracked, is a beautiful thing.

I knew that somewhere on the internet, someone had the answer to perfectly done soft-boiled eggs. I've tried many different instructions, from starting the fridge-cold eggs in the water before boiling it, to various complicated timings based on egg weight all in the hopes of getting a perfectly firm white cradling a golden, runny yolk. I found the answer at The Kitchy Kitchen via Photograzing - Claire Thomas posted a beautiful entry on "Googy Eggs", what her father called soft-boiled eggs. I could not do any better with photos than those that are in that entry - take a look, just to appreciate the beauty of the egg.

Her answer is to boil water, then to reduce the heat to a simmer before carefully dropping the eggs in. 4 minutes exactly for a room-temp egg, and 6 for a fridge-cold one. Perfect every time. So simple, and so satisfying.

Serve with some lovely ciabatta for dipping!

Digg Technorati Delicious StumbleUpon Reddit BlinkList Furl Mixx Facebook Google Bookmark Yahoo

Sunday, April 26, 2009

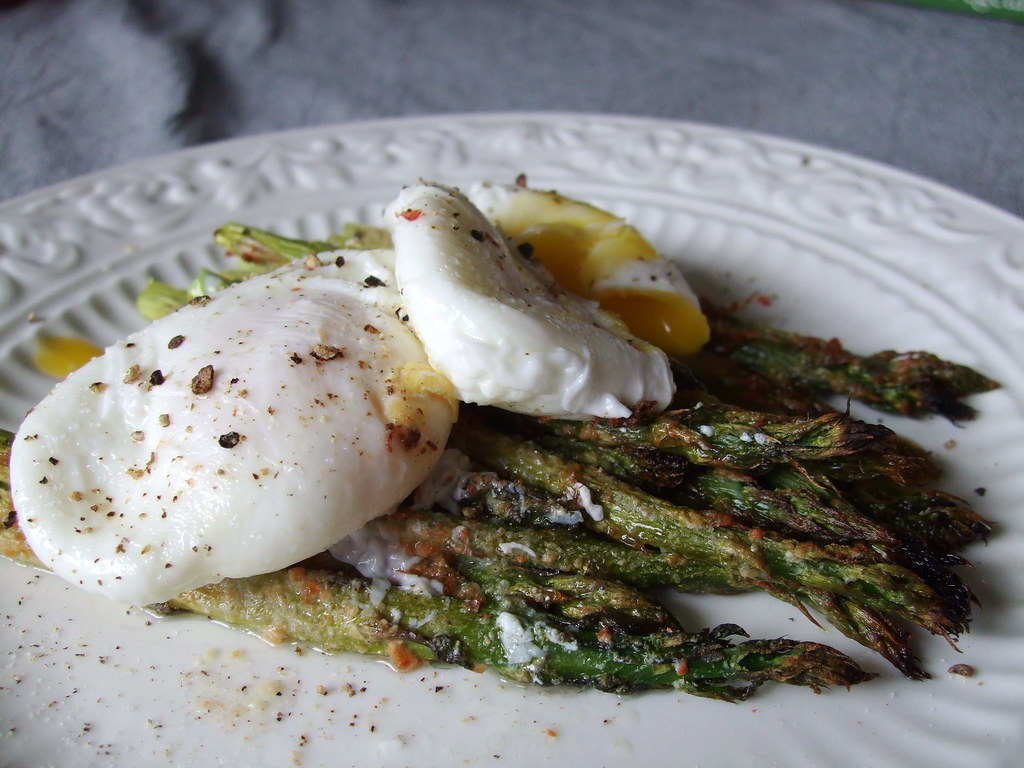
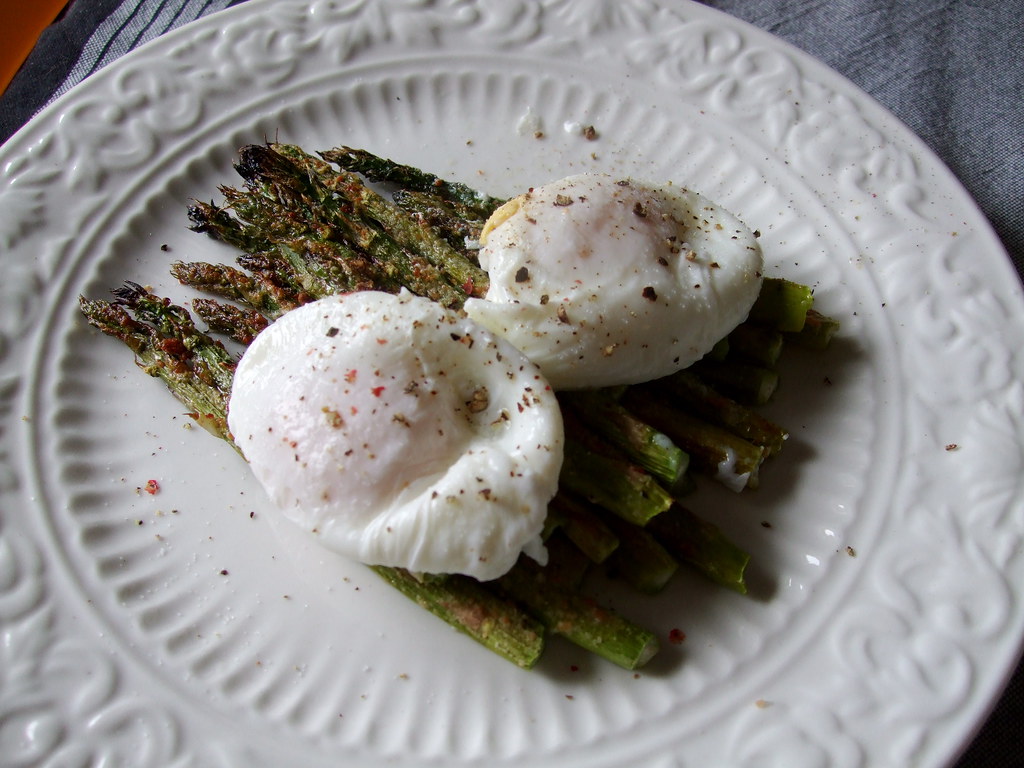
Roasted Asparagus with Poached Eggs

My memories of poached eggs are from when I was little and hated egg whites. I only liked the yolk, and I liked it runny. Perfection for me as a five year old was a mug full of cut up, buttered toast and a runny poached egg.

I am still convinced that the perfect proportion of yolk to white lies in the poached egg, where the distribution of the white is such that it minimizes its interference with the golden, buttery yolk. Many days I eat poached eggs on toast for breakfast, but sometimes I want something a little more mature, a little more sophisticated. Enter this meal:


You need:

1 bunch of asparagus (yay! It's asparagus season!)
2 tbs olive oil
2 tbs parmesan cheese (optional but delicious)
2 eggs

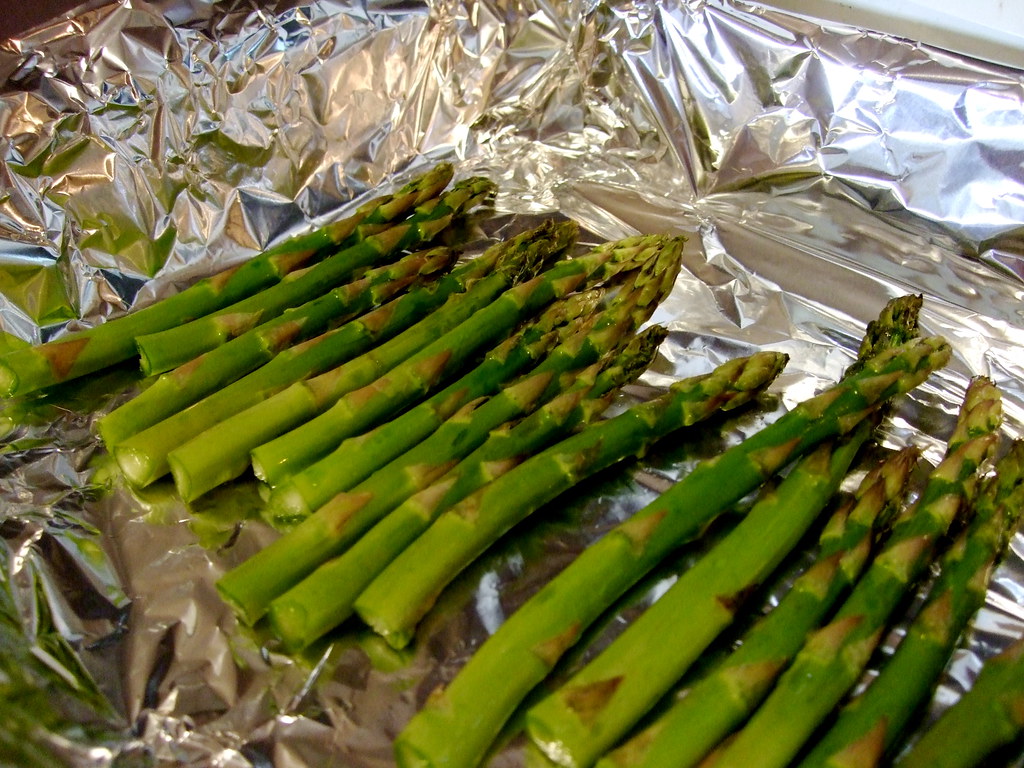
1. Heat your oven to 400ºF with the rack in the middle. Line a baking pan with foil to make clean-up easy. Trim your asparagus by bending each spear until it snaps - that way you don't get any woody bits.

2. Put your asparagus in the baking pan and drizzle with the olive oil, tossing to coat. Sprinkle the cheese on top, if you're using it. If you're not, I'd sprinkle a bit of coarse sea salt on top.


3. Put the pan in the oven. Start a small pot of water on to boil. Poaching eggs works best if you have the water deep enough that the egg doesn't just sit on the bottom. The pot should be wide enough that you can swirl the water and eggs around with a bit of room to spare.

4. After about 12 minutes, the asparagus will be done. So before that point, after about 7 minutes and when your water is boiling, turn the pot down to medium high, swirl the water with a spoon so that it swirls in a circle, and break your eggs into this swirling, boiling water. The swirling makes sure that the whites wrap around the yolk, giving it that perfect ratio we discussed earlier.

5. Check on your asparagus. It may be done, and by done I mean roasty-toasty. You can take them out when they look fully cooked and the cheese is golden. At this point, check your eggs. I am never sure how long it takes for a poached egg to cook. I hover over the stove and lift it out after the white becomes opaque to poke it and see how it's doing. When the white is firm but before the yolk hardens, I pull it out. Remember that the egg will keep cooking for a bit after it's out of the water, so don't wait too long!

6. Arrange your asparagus on a plate and top with the eggs. Generously salt and pepper your plate and dig in! You might want to have a piece of toast standing by to mop up all that delicious yolk.


I had this for lunch, but I think it would be lovely for a quiet dinner on a weeknight, or in a smaller portion, it would work really well as a starter if you were having a fancy dinner party.

Digg Technorati Delicious StumbleUpon Reddit BlinkList Furl Mixx Facebook Google Bookmark Yahoo