Tuesday, June 23, 2009

Pizza: New and Improved!

GUESS WHAT!?


You can make really good pizza dough in about 2 hours. And you can do it in your own oven. Remember this recipe for ciabatta? If you halve it, it makes a perfect pizza dough crust for two. Note that you can make this dough by hand, but a kitchenaid-type device certainly makes things faster and easier.


To prove this to you, I invite you to imagine you are biting into the pizzas in the following photos:


We divided our pizza dough into two personal pizzas so we could have two types. One has red onions, red peppers, and mozzarella, and the other has spinach, cherry tomatoes, and mozzarella. We baked them at 500º on a pre-heated baking stone for about 15 minutes.


This dough is amazing and I urge you to try it. I imagine it would do well on the barbecue too, although this is an adventure I have yet to try.


Digg Technorati Delicious StumbleUpon Reddit BlinkList Furl Mixx Facebook Google Bookmark Yahoo

Sunday, June 21, 2009

Tilapia En Papillote

En Papillote is a style of cooking that involves wrapping up your food in parchment paper and baking it in the oven. The moisture released from the food as it cooks effectively steams whatever it is you're cooking, keeping the dish moist and tender. Fish does really well en papillote because it cooks fast, and moist fish is delicious.


I did two versions of this dish - one in a Mediterranean style with olives and cherry tomatoes, and another just with lemon and garlic. They were both great! I think this would be a fun thing to serve as a "top your own fish" kind of thing - lots of various ingredients, and everyone chooses what to add to their little personal meal.


For one serving of the Mediterranean style, you need:

1 Tilapia or other (sustainably fished) white fish
1 clove of garlic, minced
1 tsp butter
1/2 tsp oregano, dried
3 cherry tomatoes, halved
4 kalamata olives, pitted and quartered
2 tsp white wine, if you have it
salt and pepper
6 stalks of asparagus, tough ends removed


For one serving of the lemon style, you need:

1 Tilapia or other (sustainably fished) white fish
1 clove of garlic, minced
1 tsp butter
2 slices of lemon
2 tsp white wine, if you have it
salt and pepper
6 stalks of asparagus, tough ends removed


In both cases, you assemble the meal in the same way.

1. Cut out a piece of parchement 3 inches on each side larger than the fish. I did mine in a heart shape because that's what Martha says to do. To do this, get a large sheet of parchement and fold it down the middle. Cut half a heart shape. When you open it up, you have a full heart shape! Magic from grade three arts and crafts! :)

2. Spray in the parchment with cooking spray (I did not do this because I forgot - nothing bad happened!) Preheat your oven to 375º.

3. On one half of the parchment, next to the crease, assemble your asparagus and lay your fish on top of it. Season the fish, then dot the top with butter.

4. Top the fish with either the tomato/olive topping or simply the lemon, or any other topping your little heart desires!

5. This is the only tricky part. Starting from the top of the heart, next to the crease, fold the two halves together making long pleats in the paper. When you have folded the whole of both edges together and you've reached the bottom of the heart, twist the end together to seal.


6. Put the parchment packets on a baking sheet and bake for 15-20 minutes, until the packets are browned and puffy. The fish will be flakey and moist and the asparagus tender.


7. Snip open the parchment packets - watch out for steam! You can either serve them like that, or lift the whole meal out onto plates.


Enjoy!

Digg Technorati Delicious StumbleUpon Reddit BlinkList Furl Mixx Facebook Google Bookmark Yahoo

Friday, June 19, 2009

The Perfect Soft-Boiled Egg


The glorious anticipation of two soft-boiled eggs before you, as yet uncracked, is a beautiful thing.

I knew that somewhere on the internet, someone had the answer to perfectly done soft-boiled eggs. I've tried many different instructions, from starting the fridge-cold eggs in the water before boiling it, to various complicated timings based on egg weight all in the hopes of getting a perfectly firm white cradling a golden, runny yolk. I found the answer at The Kitchy Kitchen via Photograzing - Claire Thomas posted a beautiful entry on "Googy Eggs", what her father called soft-boiled eggs. I could not do any better with photos than those that are in that entry - take a look, just to appreciate the beauty of the egg.

Her answer is to boil water, then to reduce the heat to a simmer before carefully dropping the eggs in. 4 minutes exactly for a room-temp egg, and 6 for a fridge-cold one. Perfect every time. So simple, and so satisfying.

Serve with some lovely ciabatta for dipping!

Digg Technorati Delicious StumbleUpon Reddit BlinkList Furl Mixx Facebook Google Bookmark Yahoo

Friday, June 12, 2009

Maple-Balsamic Pork Tenderloin


This is my favourite way to eat pork - it is juicy, tender, and full of flavour. The recipe is fairly low-effort, too - just mix, marinate, and cook! Pork tenderloin was on sale at my grocery store, but I imagine it would work just as well with chops, maybe even ribs! The recipe is from Cooking Light Magazine from 2005 - my family has been making it since then, and it is delicious!!

The marinade also doubles as a lovely dressing for peppery or bitter greens, such as arugula or endive, and it works well as a marinade with dark-meat chicken or turkey, if you're not a fan of pork. I imagine even beef would be nice this way.


For the marinade:

1/2 c tomato juice
1/3 c balsamic vinegar
1/4 c maple syrup
1 tbs minced fresh rosemary
2 tsp Dijon mustard
1/2 tsp salt
1/2 tsp fresh ground black pepper
2 garlic cloves, minced (or shallots - we had a guest with a garlic allergy and used that sub)
2 1/2 tbs olive oil

1. Combine everything but the oil and mix well. Then gradually mix in the oil and whisk until everything is combined. You can at this point refrigerate the dressing for up to five days, or you can use it immediately.

Look! I even have calorie counts etc because it's from a magazine! Per 1 tbs: 39 calories, 2.3g fat, 0.2g protein, 4.7g carb, 0.1g fiber, 118mg sodium


For the Tenderloins:

2 (3/4 lb) pork tenderloins
1/2 c (1/2 recipe) Maple-Balsamic dressing, divided
1/2 tsp salt
1/2 tsp pepper

1. Butterfly the tenderloins - cutting them lengthwise but not all the way through, so they have a hinge and can lay open and flat. Marinate in a large plastic bag or a large dish, covered, in the fridge for 20 minutes or up to 8 hours. Make sure you turn the tenderloins every once in a while, so that all the meat gets a chance to soak up the flavours.

2. Now, here's the thing. Usually, you'd do this on the grill - it is AMAZING on the grill, and this was our plan. But we had terrible rainy weather when we were making this and so we roasted ours in the oven - still delicious! I'll tell you what to do either way.

3a. For GRILL: Heat grill to medium-high heat. Sprinkle meat iwht salt and pepper and grill 9 mins on each side or until the meat is cooked through (this is really important with pork!!)

3b. For OVEN: Heat oven to 375F. Roast uncovered for 30-40 minutes, or until pork is cooked through (this is really important!!).

4. For both methods: Place the remaining 1/4 c marinade/dressing in a small saucepan and bring to a boil. Reduce and simmer until it thickens into a nice sauce.

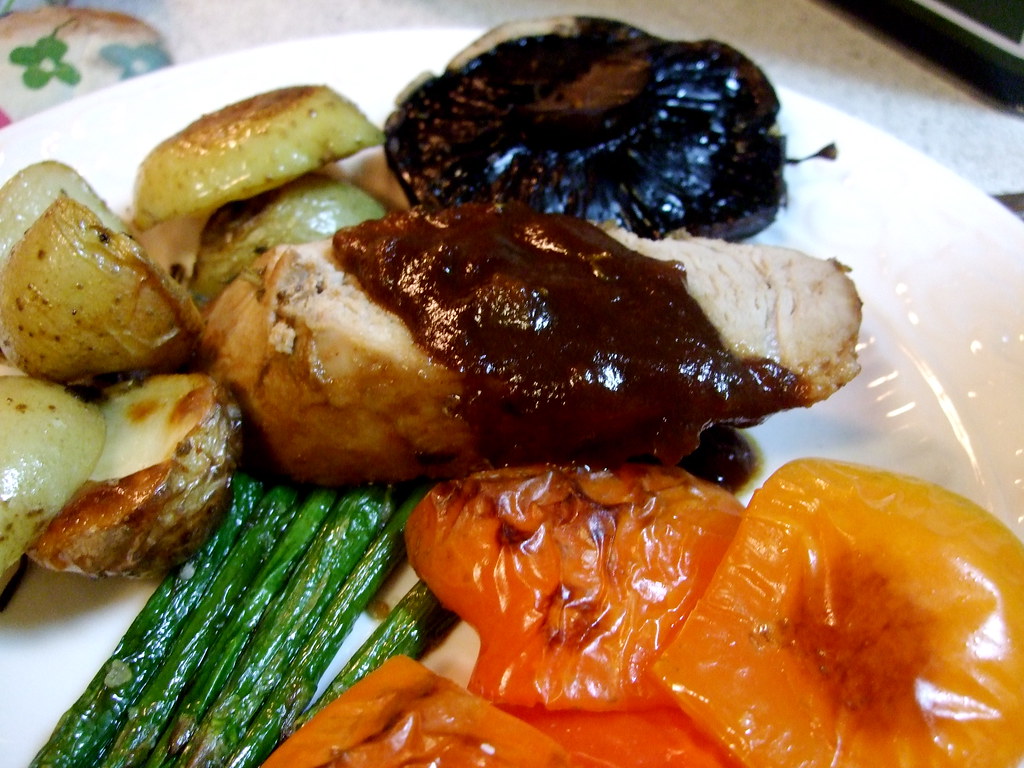
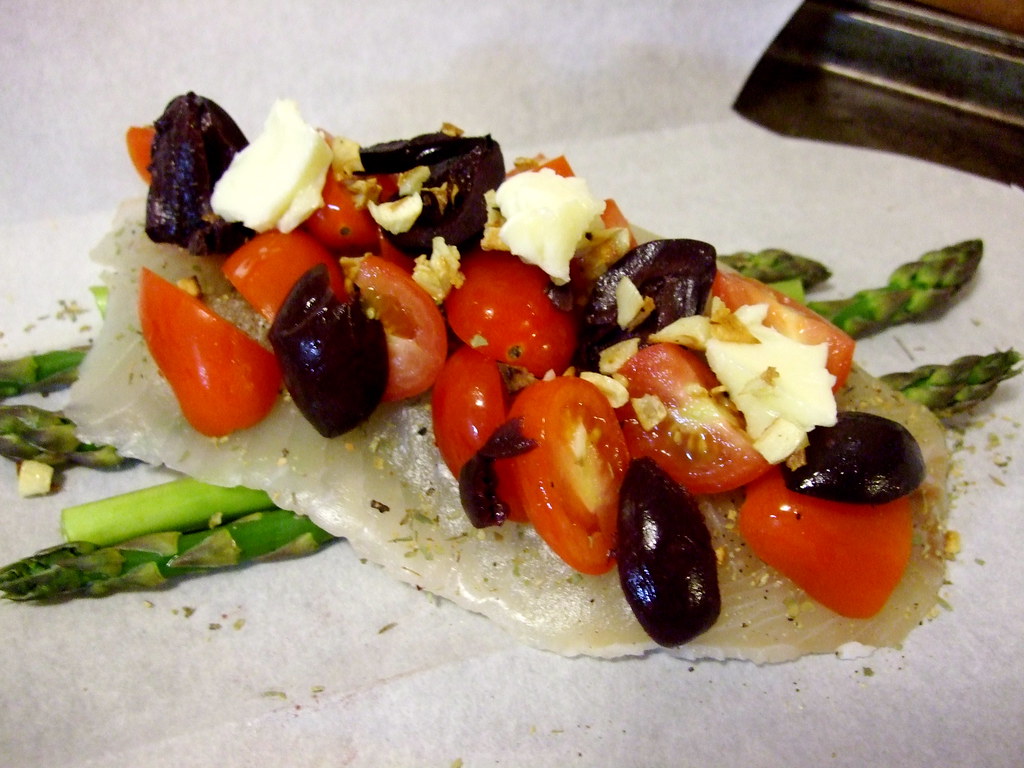
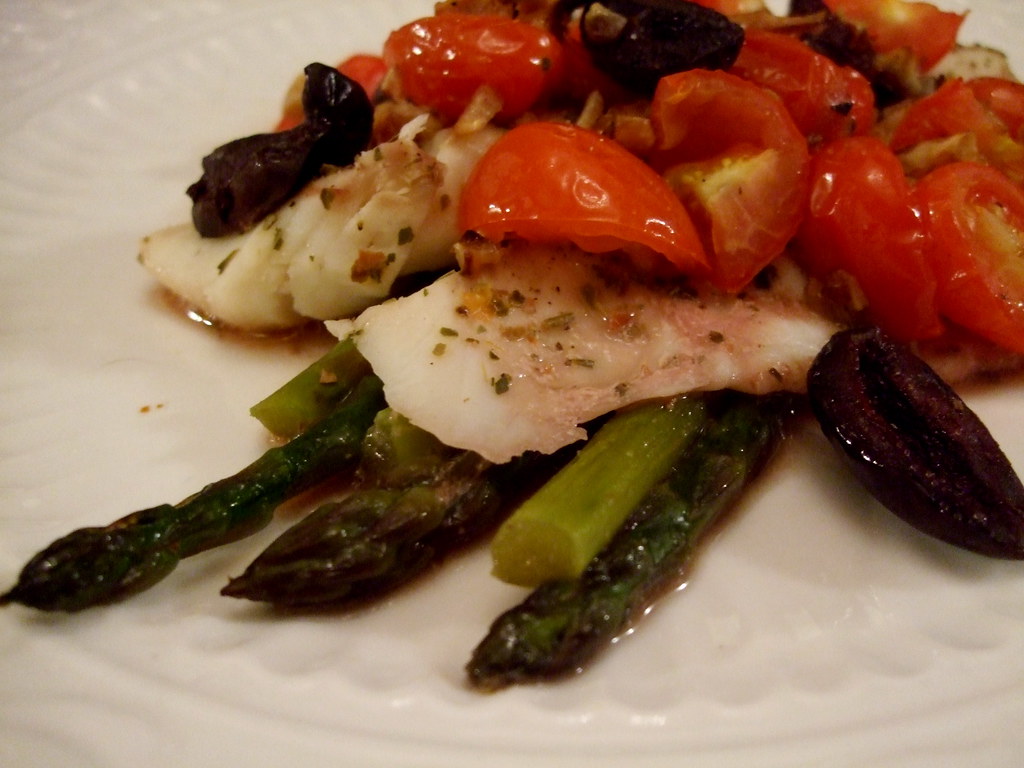
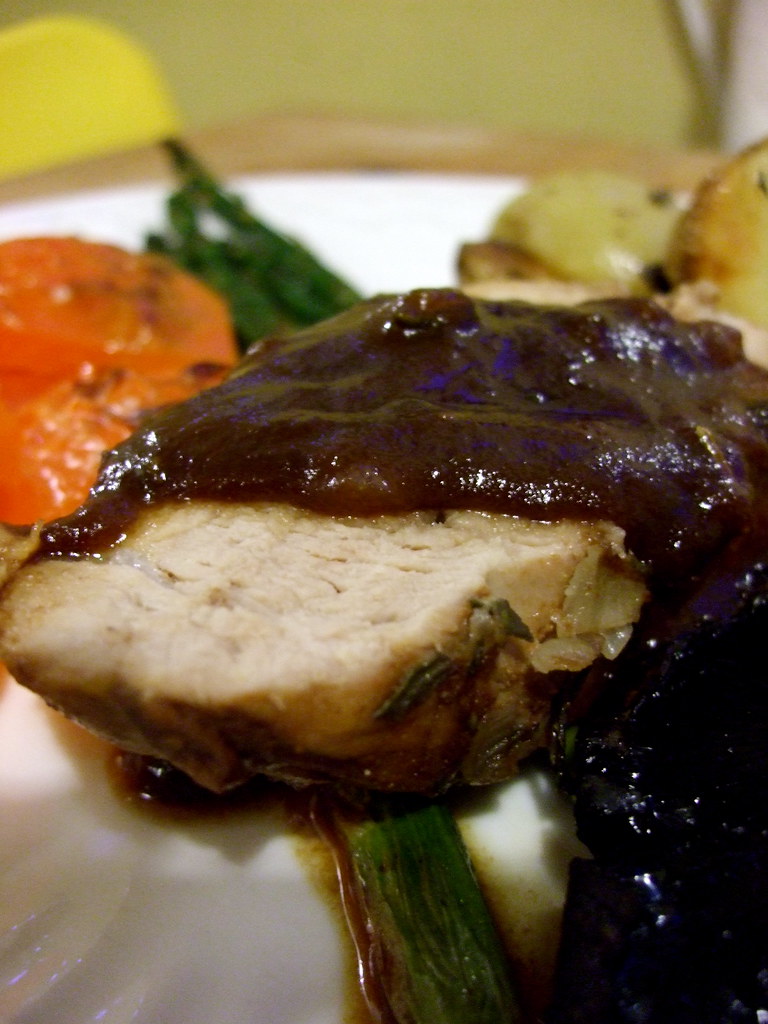
5. Slice the meat, when it is cooked, into portions, and drizzle with the sauce you made. We served ours with roasted peppers, roasted asparagus, and roasted baby new potatoes.

And nutritionals for the pork: (3 oz serving) 176 cals, 6.2g fat, 24g protein, 4.8g carb, 74mg cholesterol, 1.6mg iron, 372mg sodium


Digg Technorati Delicious StumbleUpon Reddit BlinkList Furl Mixx Facebook Google Bookmark Yahoo

Sunday, June 7, 2009

Oatmeal-Potato Bread

I have not been cooking as much as I would like. Well, I've been cooking my same amount, but it's not really anything to show off - shake n bake, plain pasta, pizza, etc. I'm trying to get a big project done, and while I would *love* to procrastinate by daydreaming about what meals I could cook, sometimes school comes first.

Enter the sandwich. A very important school-going staple; not to be trifled with. It requires decent bread that can stand up to the rigours of a back pack and tomatoes without falling apart.

I play around with sandwich loaves - I haven't yet found a whole wheat one that I'm entirely happy with. I've used this one, which is delicious but has so much sugar in it, and various others floating around online, or in my thousands of cooking and baking books. This recipe comes from Beth Hensperger's The Bread Bible and makes two good-sized loaves. I chose it because I had some left-over mashed potato waiting to be used up, and not enough time or energy to want to do a 24 hour whole wheat loaf as Peter Reinhart suggests. Maybe when these two are done.


Beth describes the bread as moist and slightly sweet, and very easy to make. She's right - mine rose beautifully even though my house is usually on the chilly side. When it was baking, the house smelled delicious and slightly nutty. I really wish you could photograph smell! When it was ready to cut, I discovered that the crumb is light and airy and makes perfect toast! It has a delicious flavour and a soft texture. This is a keeper of a recipe, at long last!

Look at the crumb in this shot! Representative of what is inside...


You need:

1 c mashed potato
2 tbs butter (unless your mashed potato already has butter in it, like mine did)
1 tbs yeast
1/2 c warm water
1 tbs sugar + 1 pinch
1.5 c warm milk (I was out so I used 3 tbs plain yogurt mixed in with enough water to make 1.5 c)
1 tbs salt (I did not add salt as my potatoes were already salted enough)
1.5 c rolled oats
5 c all purpose flour (I used 2 c whole wheat and 3 c white unbleached)


1. Dissolve the pinch of sugar in the 1/2 c warm water and sprinkle the yeast on top to dissolve. Let proof 10 minutes, until foamy.

2. In a mixing bowl or a stand mixer, put the potato, yeast mixture, the rest of the sugar, the milk, salt, oats, and 2 c of the flour. Beat until it's combined. Add the rest of the flour by the half-cup until you have a very moist dough that only just clears the sides of your dough. If you add too much flour to make a stiffer dough, the oats will suck up all the moisture and you'll end up with dry, terrible bread. When you're done kneading the dough should be smooth and springy.

3. Put the dough in an oiled bowl and cover. It'll rise for about 1.5 hours and get nice and puffy.

4. Tip the dough out onto your work surface, which you've floured so the dough doesn't stick. Divide it in two - you're making two loaves. Shape the dough into loaves by following this amazing tutorial on The Fresh Loaf. Put each loaf in a greased 9-by-5 loaf pan and let rise again, covered, for another 40 minutes.

5. Preheat your oven to 425. Bake the loaves for 10 minutes at this heat, then at 350 for another 35-40. The loaves should sound hollow when you tap them on the bottom. Let them cool completely before cutting into them - I know it's hard, but the bread won't taste as good if you cut into it too early! Promise!

Digg Technorati Delicious StumbleUpon Reddit BlinkList Furl Mixx Facebook Google Bookmark Yahoo

Tuesday, June 2, 2009

Chickpea Curry with Star Anise

In my Christmas stocking this past December, Santa gave me a jar of Bruno's Favourite Curry Powder. It's from a small store called Bruno's Best in Vancouver (Santa always knows the best places to shop). Tonight I used it to make a variation on one of my standard, go-to meals, curry. The addition of whole star anise and cinnamon during the simmering of this curry add a real depth of flavour - not to mention, star anise is really one of the prettier spices!


You need:

3 whole star anise (mine were a gift from a friend who visted Malaysia but you should be able to get them at a normal grocery store)
1 large cinnamon stick
2-3 tbs curry powder (I used Bruno's favourite, of course)
1 tbs cumin, dried
1 big can diced tomatoes with juice
1 c chicken or veggie stock
2 c cooked chickpeas
1 diced red bell pepper
5 cloves minced garlic
2 diced medium onions
2 tbs apple or mango chutney

1. Heat up 2 tbs of canola oil in a big pan over medium heat. This is the one I use. I love it. When the oil is hot, add your onions and saute until they're translucent.

2. Add the ground spices, garlic, and red pepper and saute for a few minutes, until the spices are fragrant and the garlic starts to cook.

3. Add the tomatoes, stock, chickpeas, chutney, and the star anise and cinnamon. Let this simmer for about 20 minutes. It will reduce and the flavours of the cinnamon and star anise will slowly meld into the gravy, adding a nice depth to the curry.

4. Serve with jasmine or basmati rice, and perhaps some naan bread.

Digg Technorati Delicious StumbleUpon Reddit BlinkList Furl Mixx Facebook Google Bookmark Yahoo