

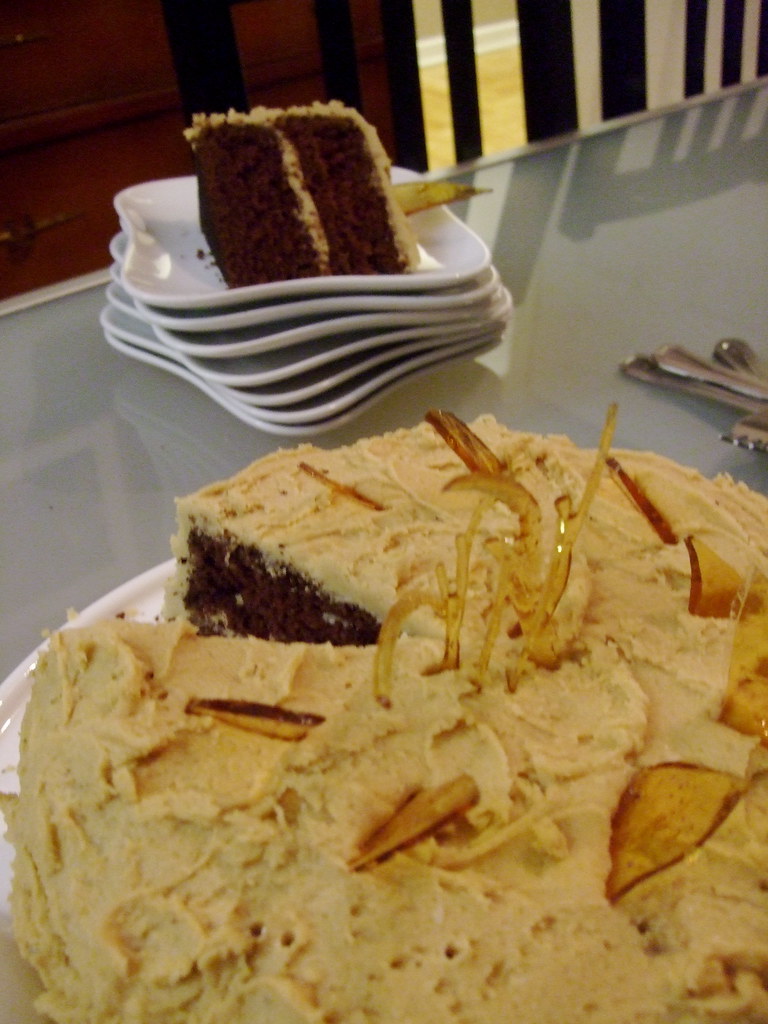
No, those are not shards of amber-coloured glass on top - those are shards of delicious crystal-clear caramel! It took me three tries to get it right, but I can now make caramel and I will tell you my story.
So there are three components to this cake. First, the cake itself. Then the salted-caramel frosting. And finally, the caramel shards on top. The cake recipe is from The Better Homes and Gardens Cookbook. I go there for my cake recipes because it is the high-end version of the church-ladies-auxiliary cookbook. When you want a good cake recipe, you trust Aunt Myrtle's Prize-Winning such and so to point you in the right direction.
From page 157 of my version, we read that we need:
3 eggs
2 1/4 c all-purpose flour
1/2 c unsweetend cocoa powder
1 1/2 tsp baking soda
1/4 tsp salt
1/2 c shortening (I used butter and nothing bad happened to me!)
1 3/4 c granulated sugar
1 tsp vanilla extract
1 1/3 c cold water
1. First, take the eggs out of the fridge (duh) and let them come to room temperature for about 30 minutes. The book says this makes them fluff better. While you're waiting, grease and flour 2 round cake pans. I "floured" mine with cocoa powder because this is a chocolate cake.
2. In a medium bowl, stir the flour, cocoa, baking soda, and salt together. In a large mixing bowl, beat the shortening/butter with a hand mixer for about 30 seconds, then add the sugar and vanilla and beat well.
3. Add the eggs one at a time and beat well after each one. Then, add the flour mixture and the water alternately (so a bit at a time) and mix to combine after each addition.
4. Pour the batter into your pans and bake at 350º for about 30 minutes, until a knife comes out clean.
5. LET THE CAKES COOL ALL THE WAY BEFORE REMOVING THEM FROM THE PANS. Otherwise your cake will crumble and crack and you will be sad. When you've removed them from the pans, let them cool even more before frosting them.
OK now for the frosting. In Canada we call this icing. But whatever. I got my recipe from the website Offbeat Eating and so I direct you there for that.The only thing I changed was that I added more salt because it just didn't seem salty enough. But just taste it and judge for yourself. As s/he says, before you add the icing sugar, it should taste very strongly of caramel and be a bit too salty. Remember that the icing sugar will even out the salt flavour. Also, if I made this again (and I will!) I would use coarse salt instead of fine salt, so that each little salty surprise is wrapped up in the surrounding sweet icing. The icing went down very well - people loved it!
OK the last thing is the scariest part: making hard clear caramel. This took me three tries to get right and I just have to say it is a good thing that sugar is cheap. I have a book just on caramel and in that book it says there are two ways to make caramel - the authentic way, and the cheats way. As usual, I prefer the cheats way, and so I dissolved my sugar in a bit of water before heating it.
Here's what you do: First, get a piece of parchment paper and lay it flat on a baking sheet. Get a deep-sided pan that your pot will fit in and fill it half way with ice water. Then, in a cool pot, combine 1 c of sugar, 1/4 tsp lemon juice, and 1/4 c cold water. Make sure the sugar dissolves as much as possible before heating it over medium-high heat. Make sure you have a little pastry brush and a dish of warm water near by.
Bring the sugar mixture to a boil. Don't stir it, but do use the brush to dissolve any crystals of sugar that are clinging to the side of the pot. You do NOT want crystals - your liquid sugar, when it begins to boil, should be clear, not cloudy. If it's cloudy you have crystals and you have to start again.
When the edges of the sugar mixture start to get a little golden, give the pot a swirl to even out the cooking. Watch it so so carefully because you do not want to burn your precious caramel! When it's a medium amber colour, take the pot off the heat and put the bottom of the pot in the pan of ice water to stop it cooking. Working quickly, before the candy has time to harden, take a spoon and drizzle the caramel onto the parchment paper in a swirly pattern to make a beautiful spider-web of caramel, or pour out the candy onto the parchment to be shattered after it cools fully. The candy is really super hot at this point, so even though it looks delicious, if you try and taste it you will burn yourself quite badly and the thing that burned you will be stuck to your finger and/or tongue.
So then what you should do to assemble your cake is first trim the cake rounds so that they are flat on top and not domed. Use a serrated knife to carefully cut off the domed top of the cake. You can eat that part. :) Get out the serving plate you're going to serve the cake on and put a few scraps of parchment paper all around the edges so that they will come about 1" under the edge of the cake when you put it on. Put your first layer on the tray and plop about a third of the icing on it and smooth it out to the edges. Put your second layer on top, making sure the formerly domed and now cut side is down. Ice the sides of the cake with about a third of the icing. The parchment paper makes sure your serving plate doesn't get covered in icing while you're doing this! So clever! Last, use the rest of the icing for the top. You can decorate with the shards or with the spider-web of sugar - it's your call! You can even put some shards in a ziplock and smash them into gold dust and use that. Above all, enjoy!


No comments:
Post a Comment